Drakhri Construction Process Sounds Like Fun


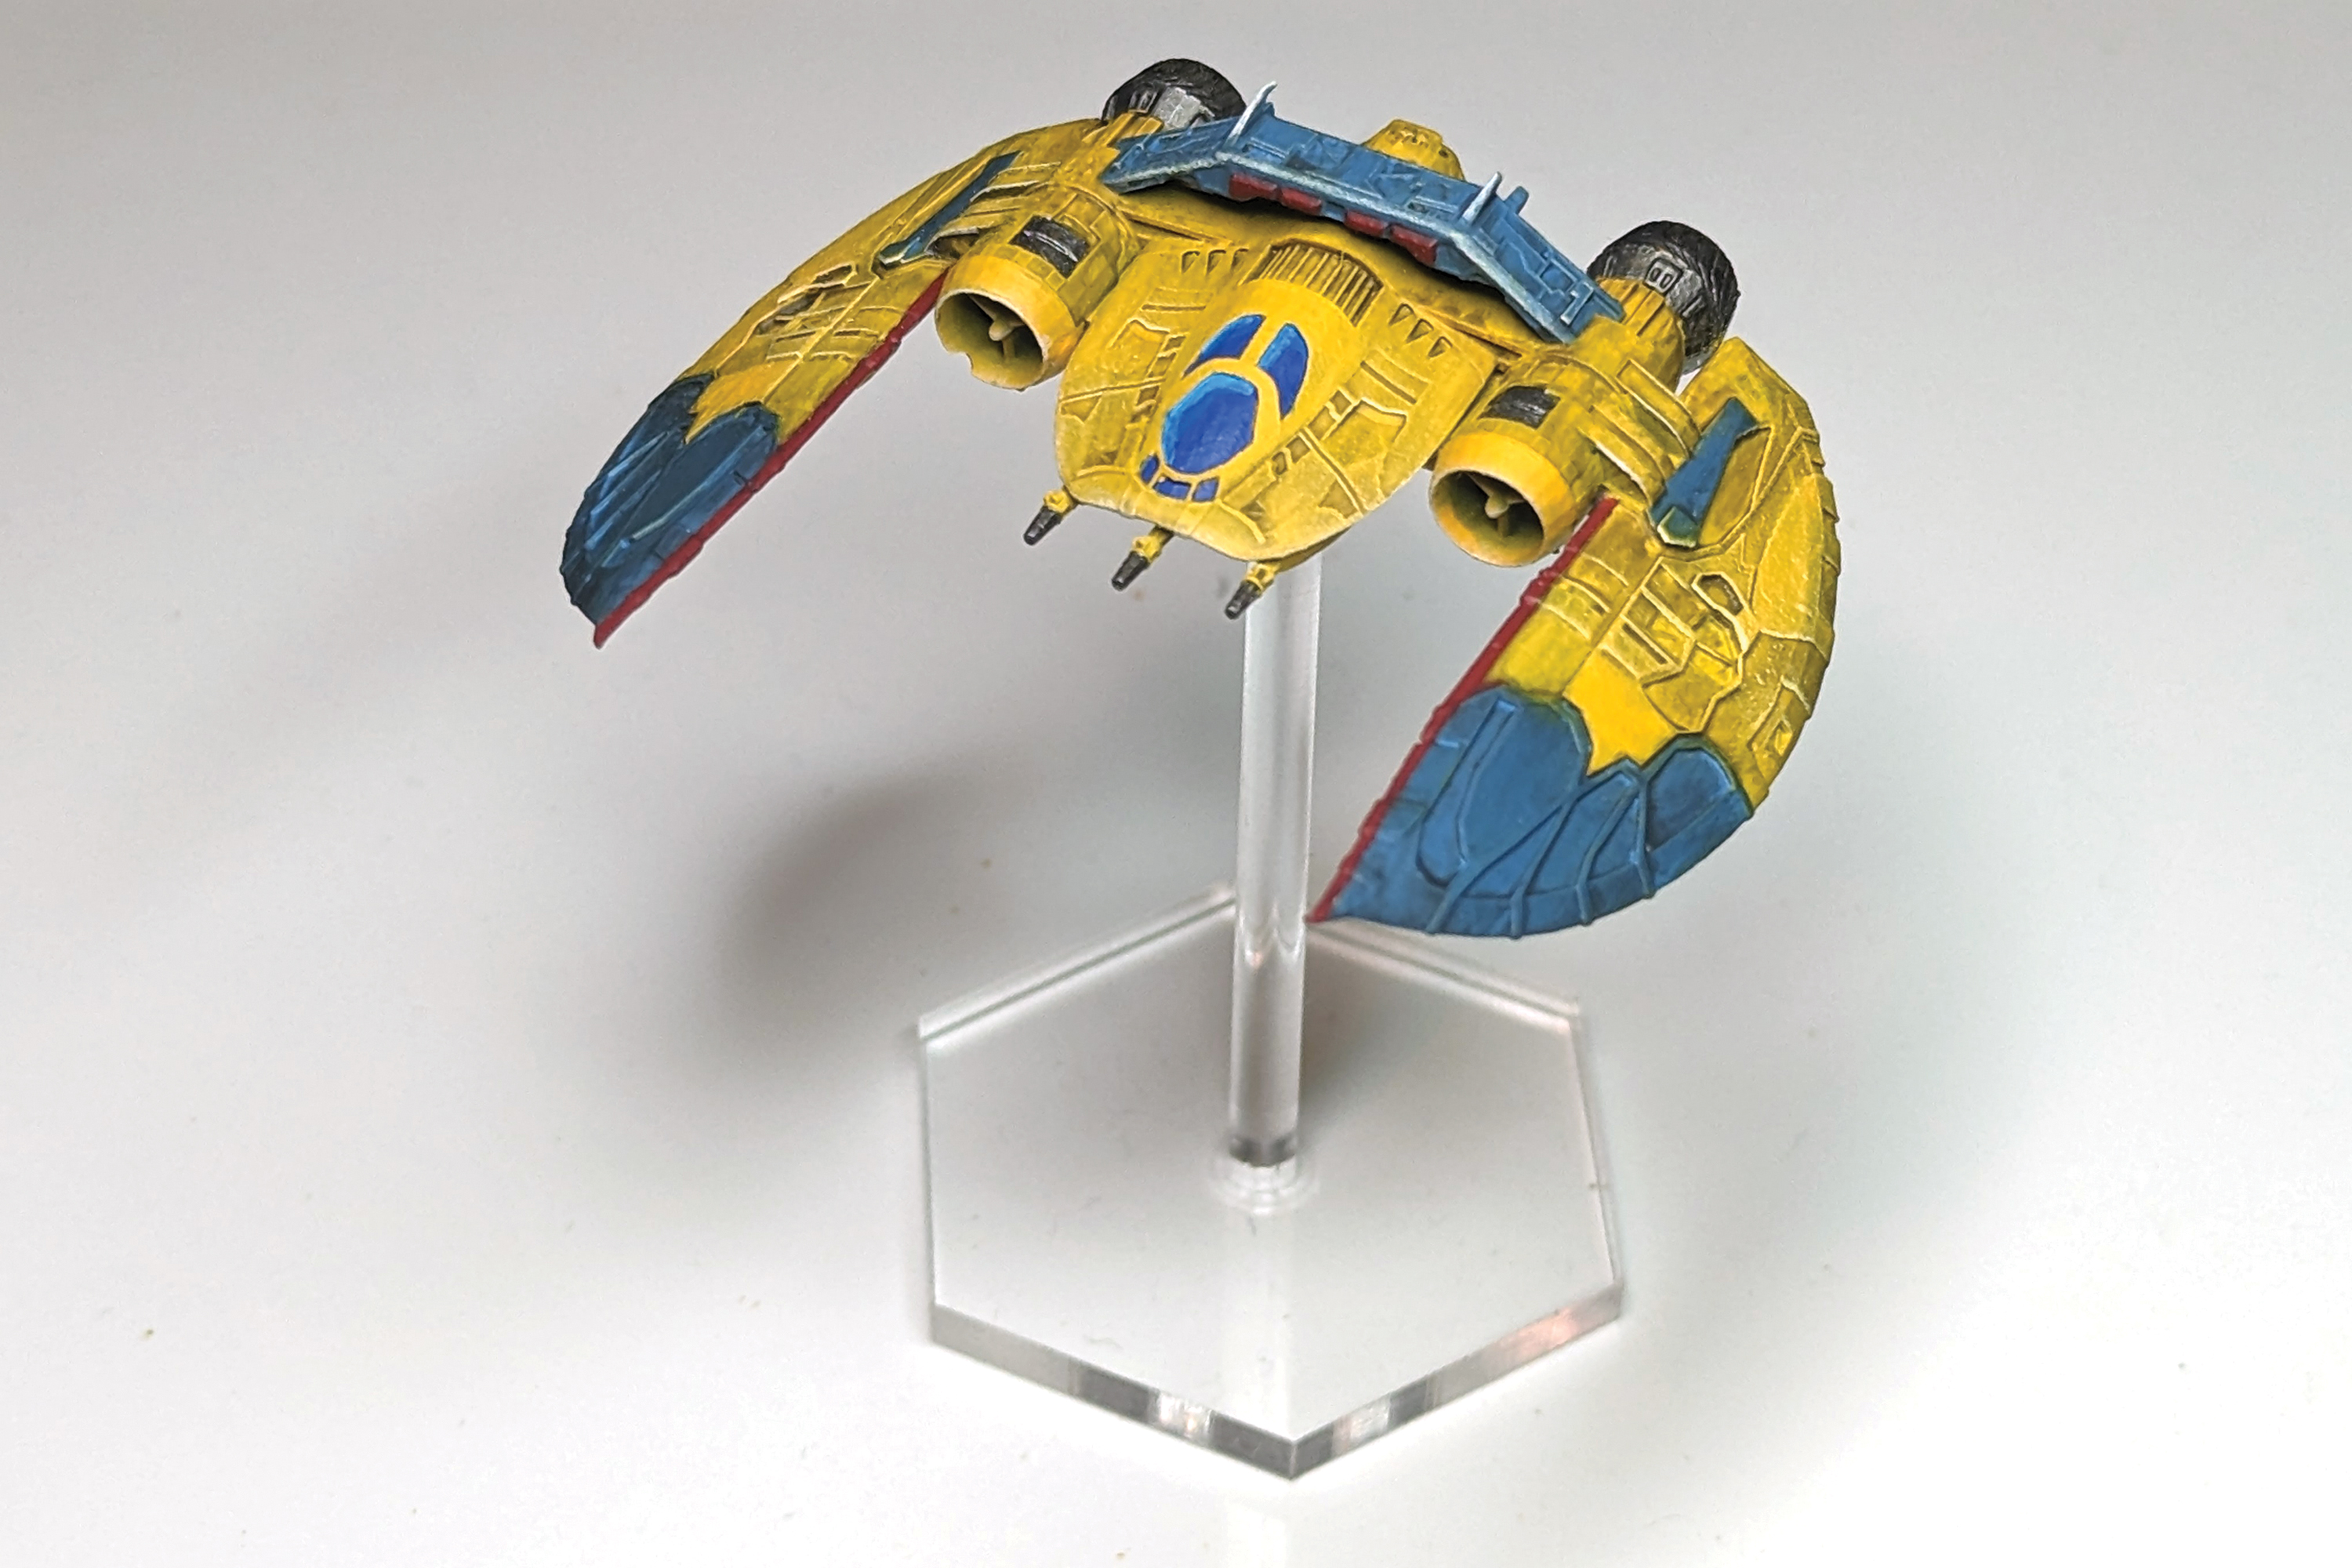
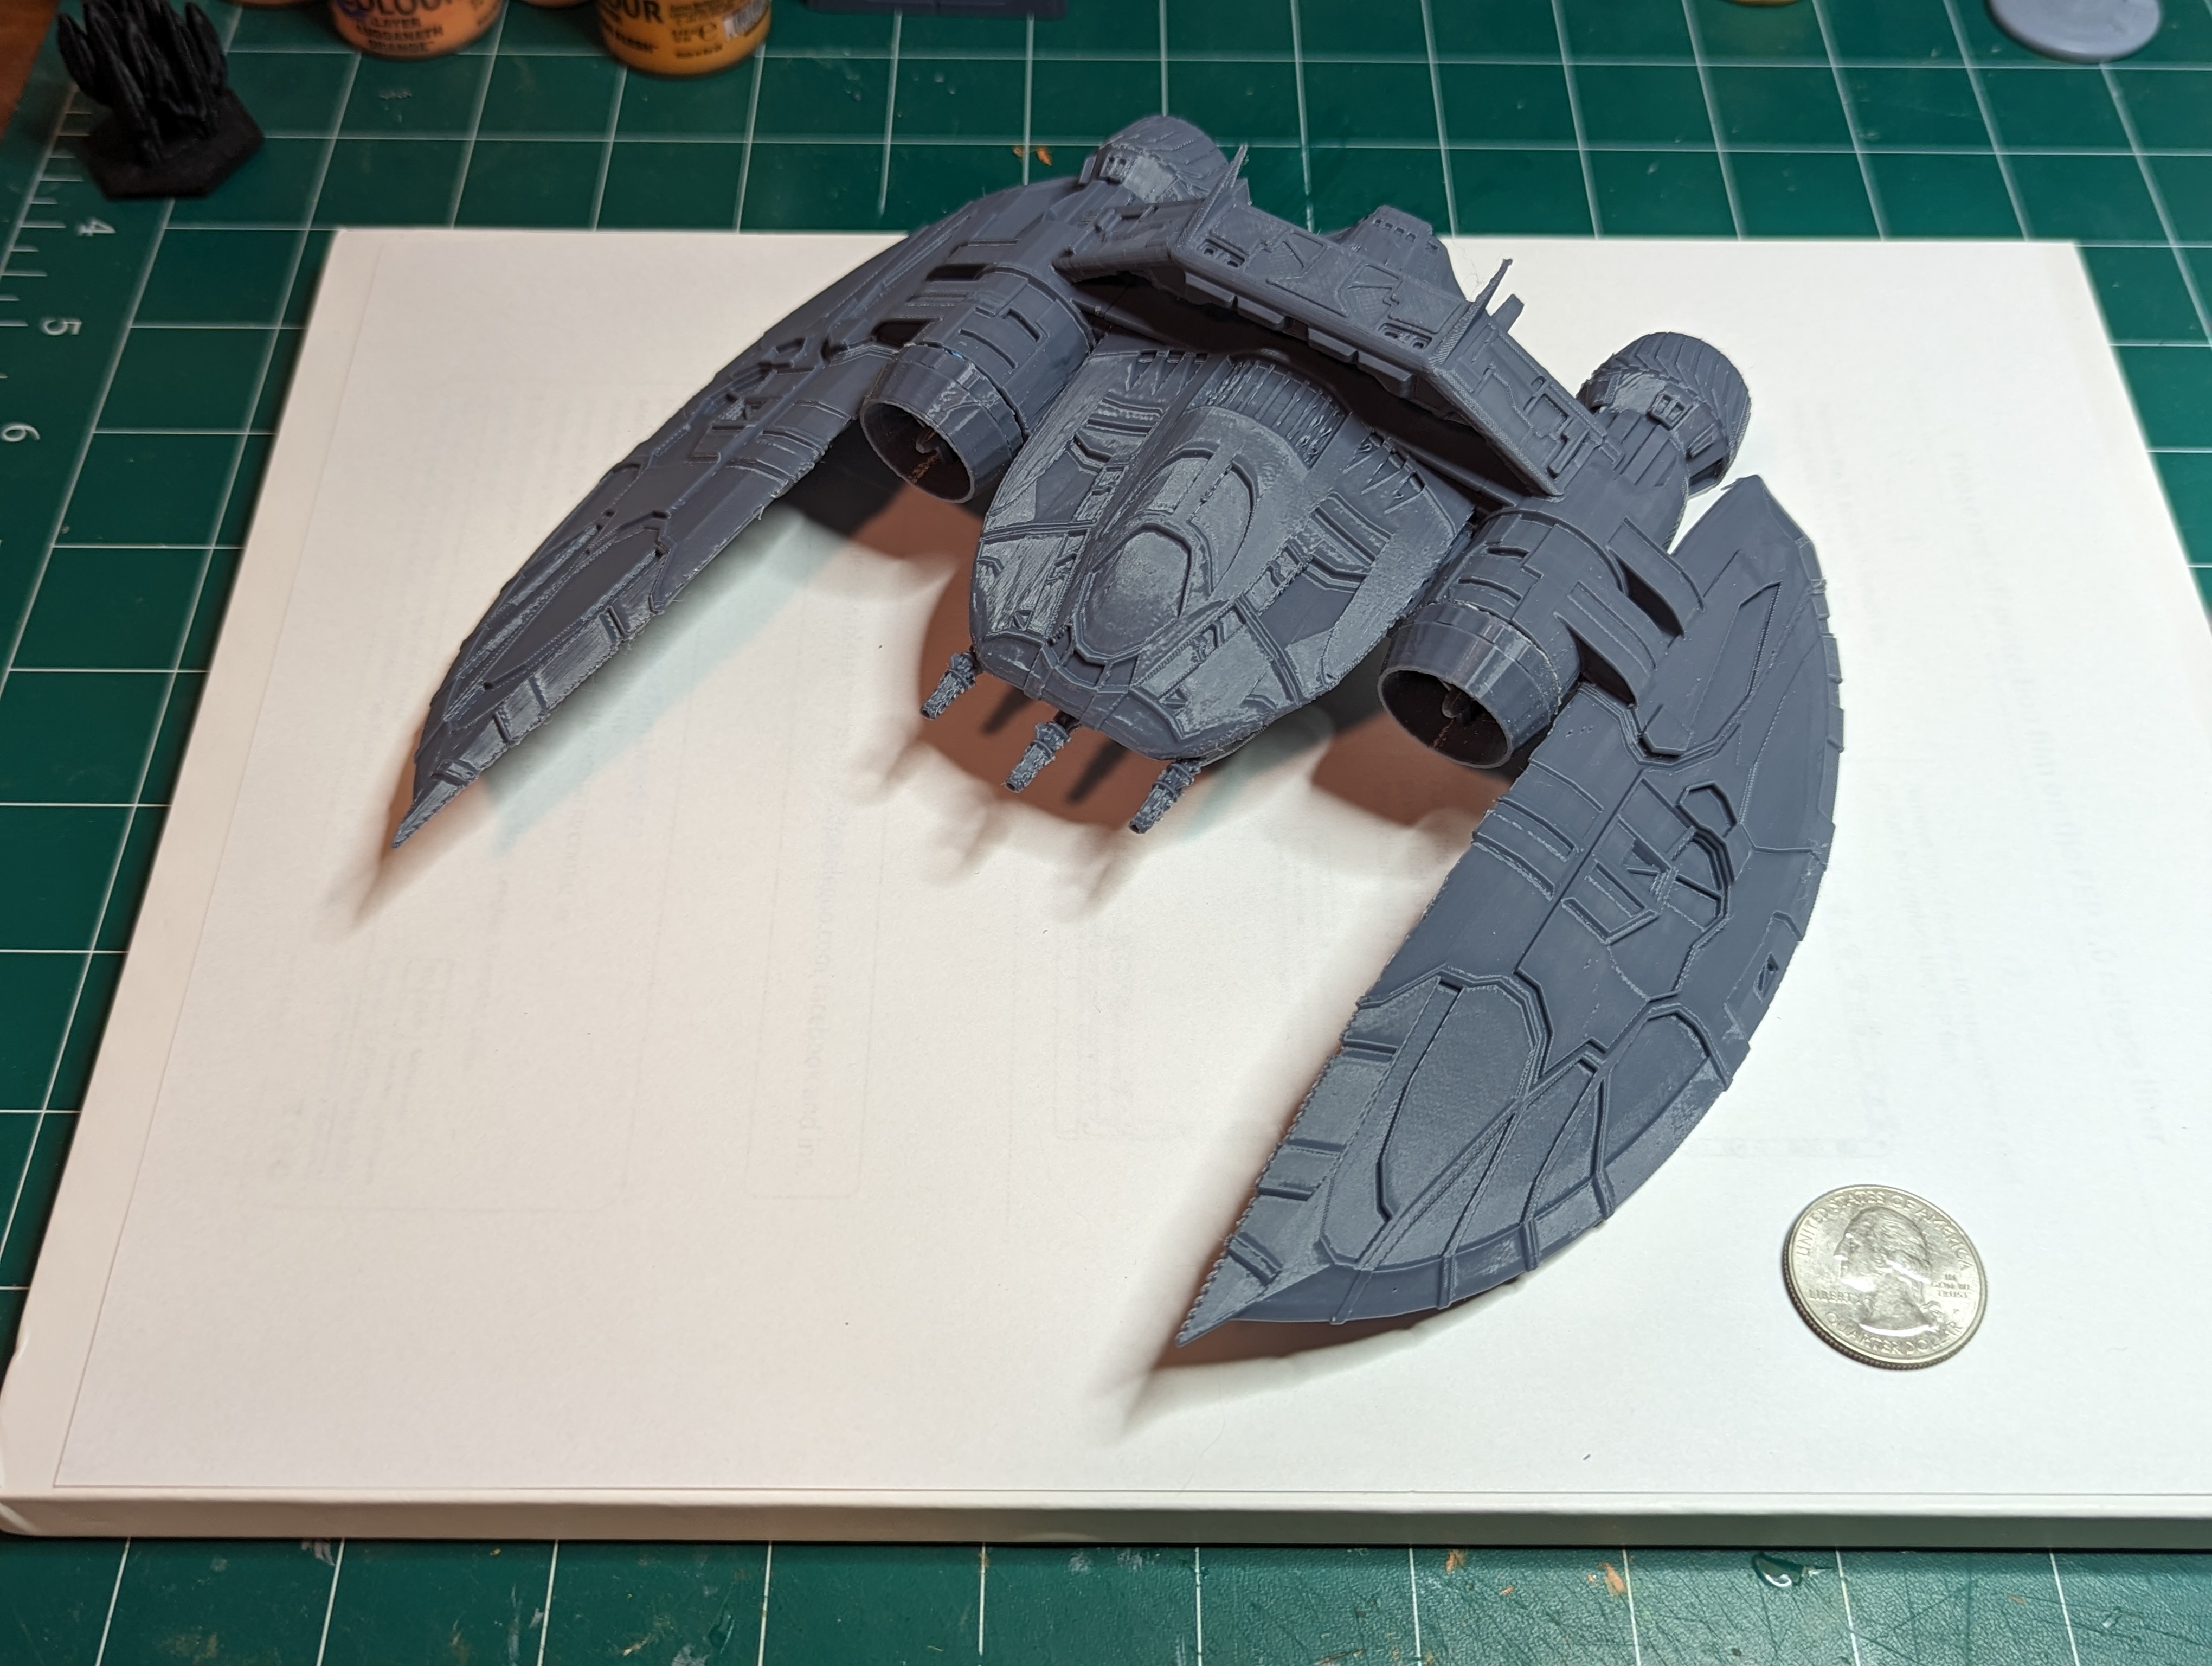
It's been a killer week for Wing Commander models! Today we've got a Drakhri built by Ardias and based on Klavs' original 3D model. There's actually two variants depicted below that differ in a clever way. The first was built as one piece by the printer. It's a convenient way to manufacture something... although carefully removing the connection points still takes some time. This is the version that was painted, and it looks great in the end! There's also a second take that comes in several pieces. In theory, someone with a smaller 3D printer could still produce this with each element manufactured separately. This always makes it so tempting to buy a 3D printer! You can read all about the construction process or download the associated files at the CIC Forum.
This model is an exact duplicate of Klavs original model. The only modification I made was altering the underside slightly to allow for the placement of a 3.375mm diameter hole approximate 4mm deep. (That dimension being the metric equivalent of a 1/8" diameter typical of many widely available flight stand pegs, plus a 0.1 mm tolerance all around to allow the pegs to be inserted and removed easily without damaging the model.
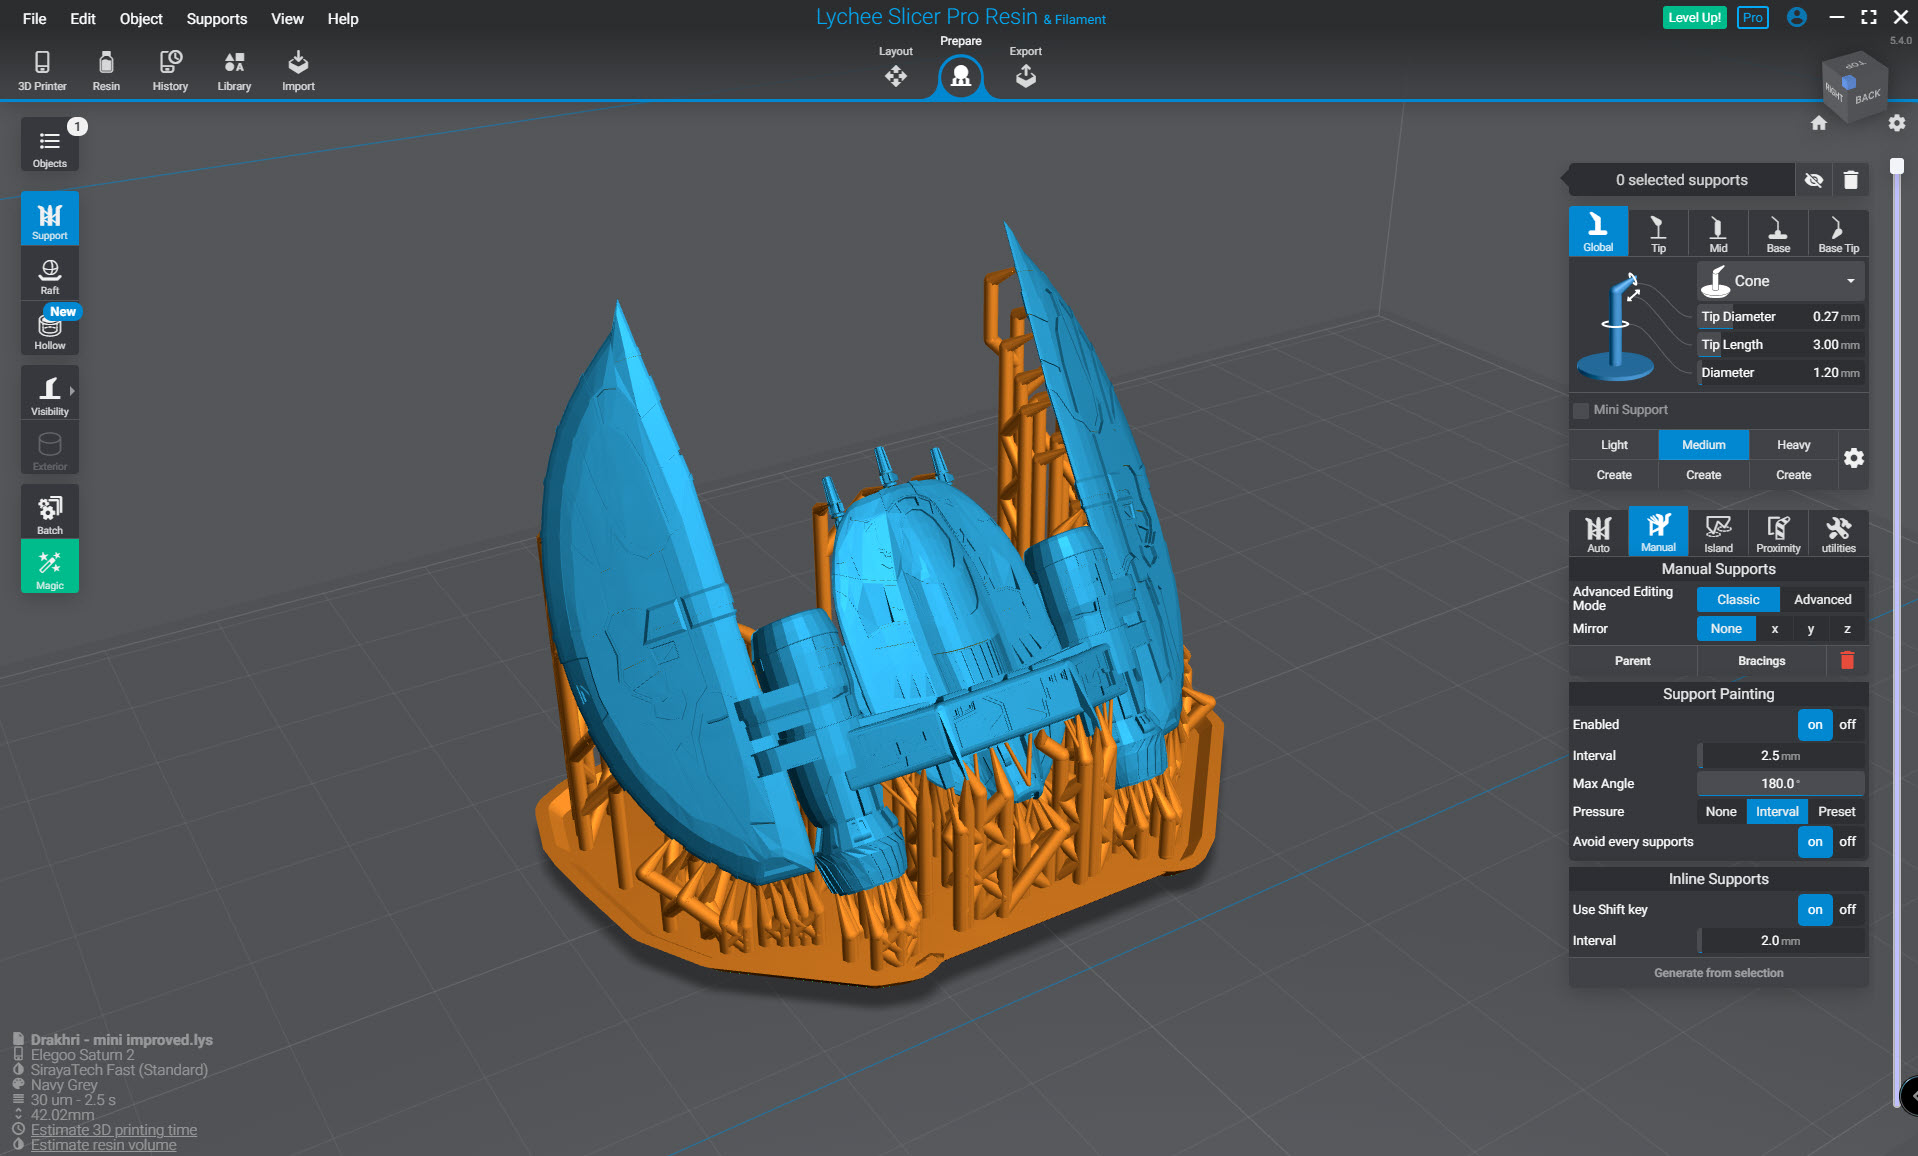
I'm also working a printable 1/72 version that can be printed in parts. This means 1. that the largest parts should fit in something as small as a Elegoo Mars. And 2. you won't have to support the entire starfighter as a single printed unit. Which at a larger scale for something shaped like an aircraft or starfighter be both difficult to properly support structurally so it is held in place during printing, would require supported touching a considerable surface area of the model marring many of the surfaces of the resulting print, and finally could be difficult to remove from the supports without risk of breaking smaller detail parts.
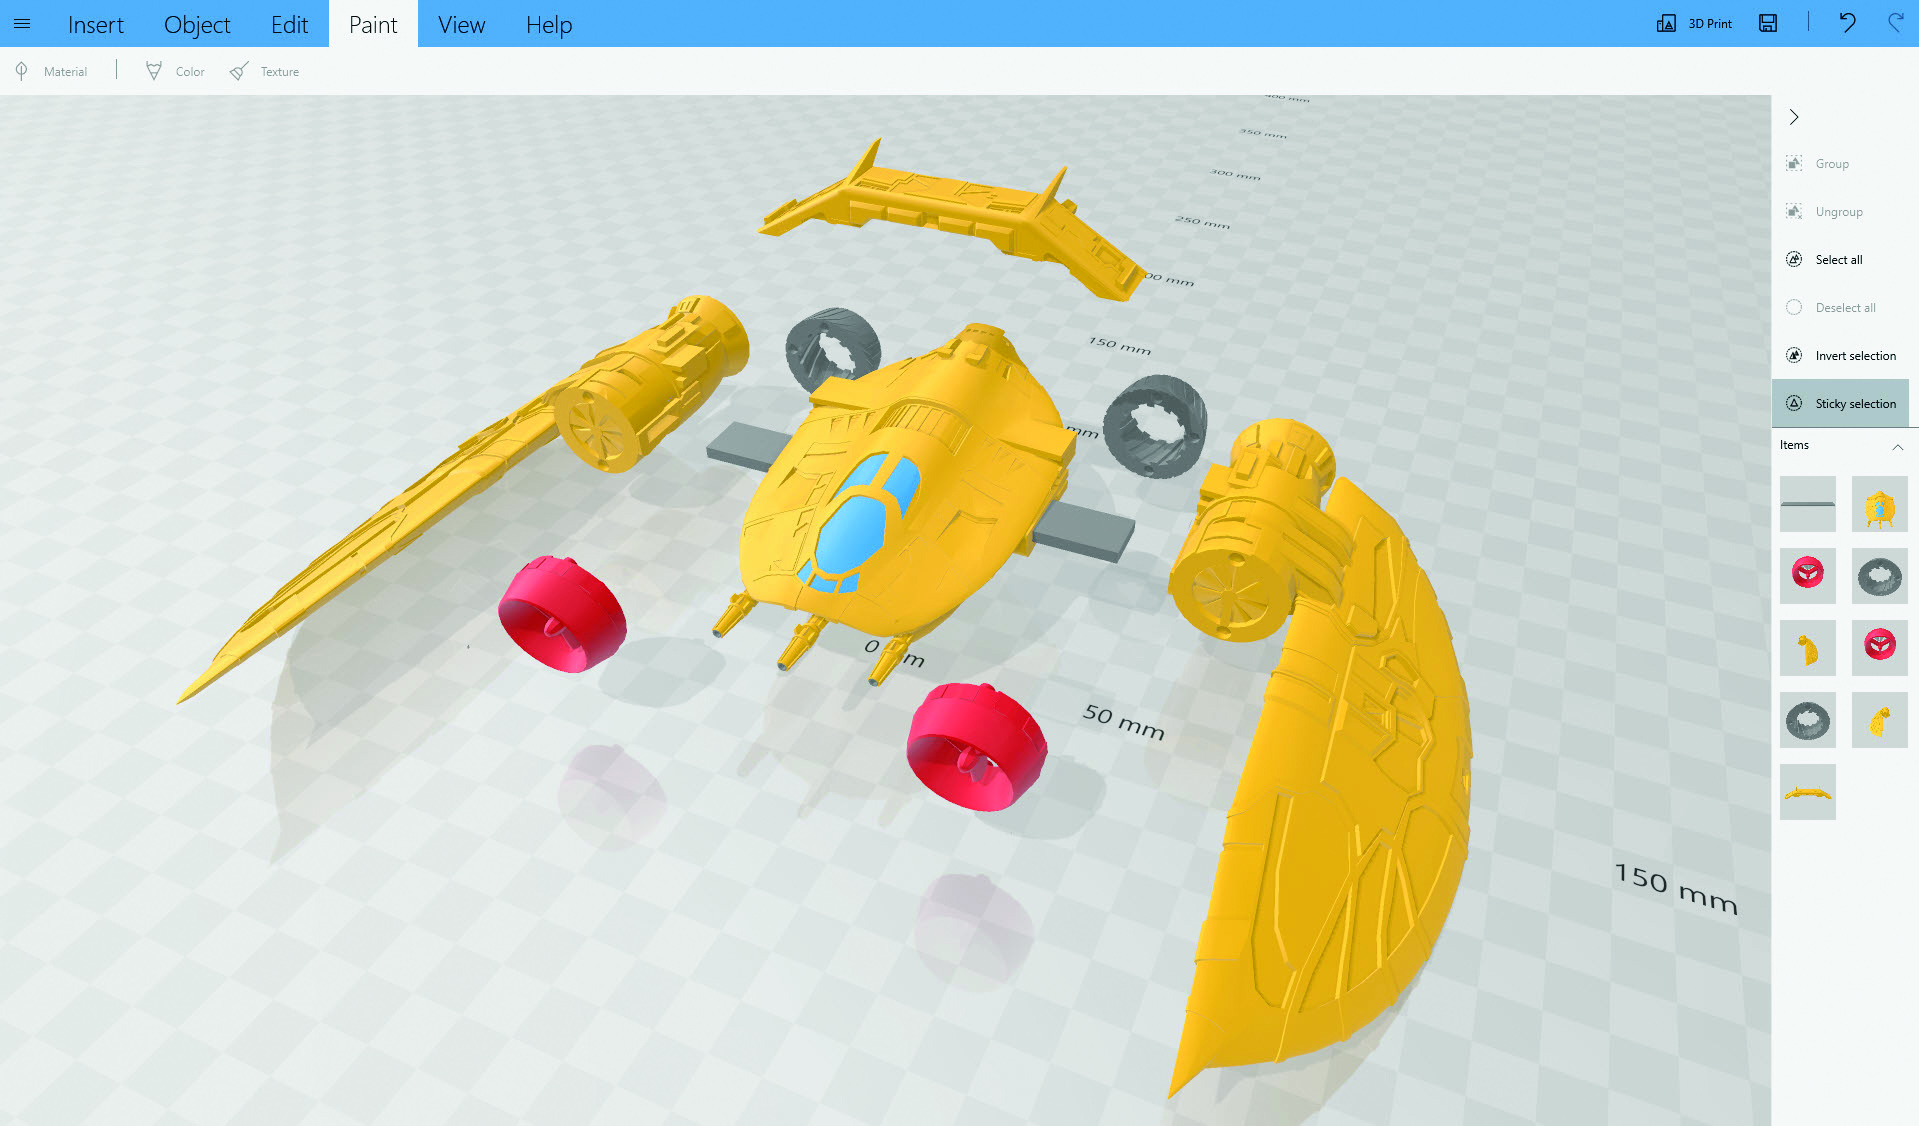
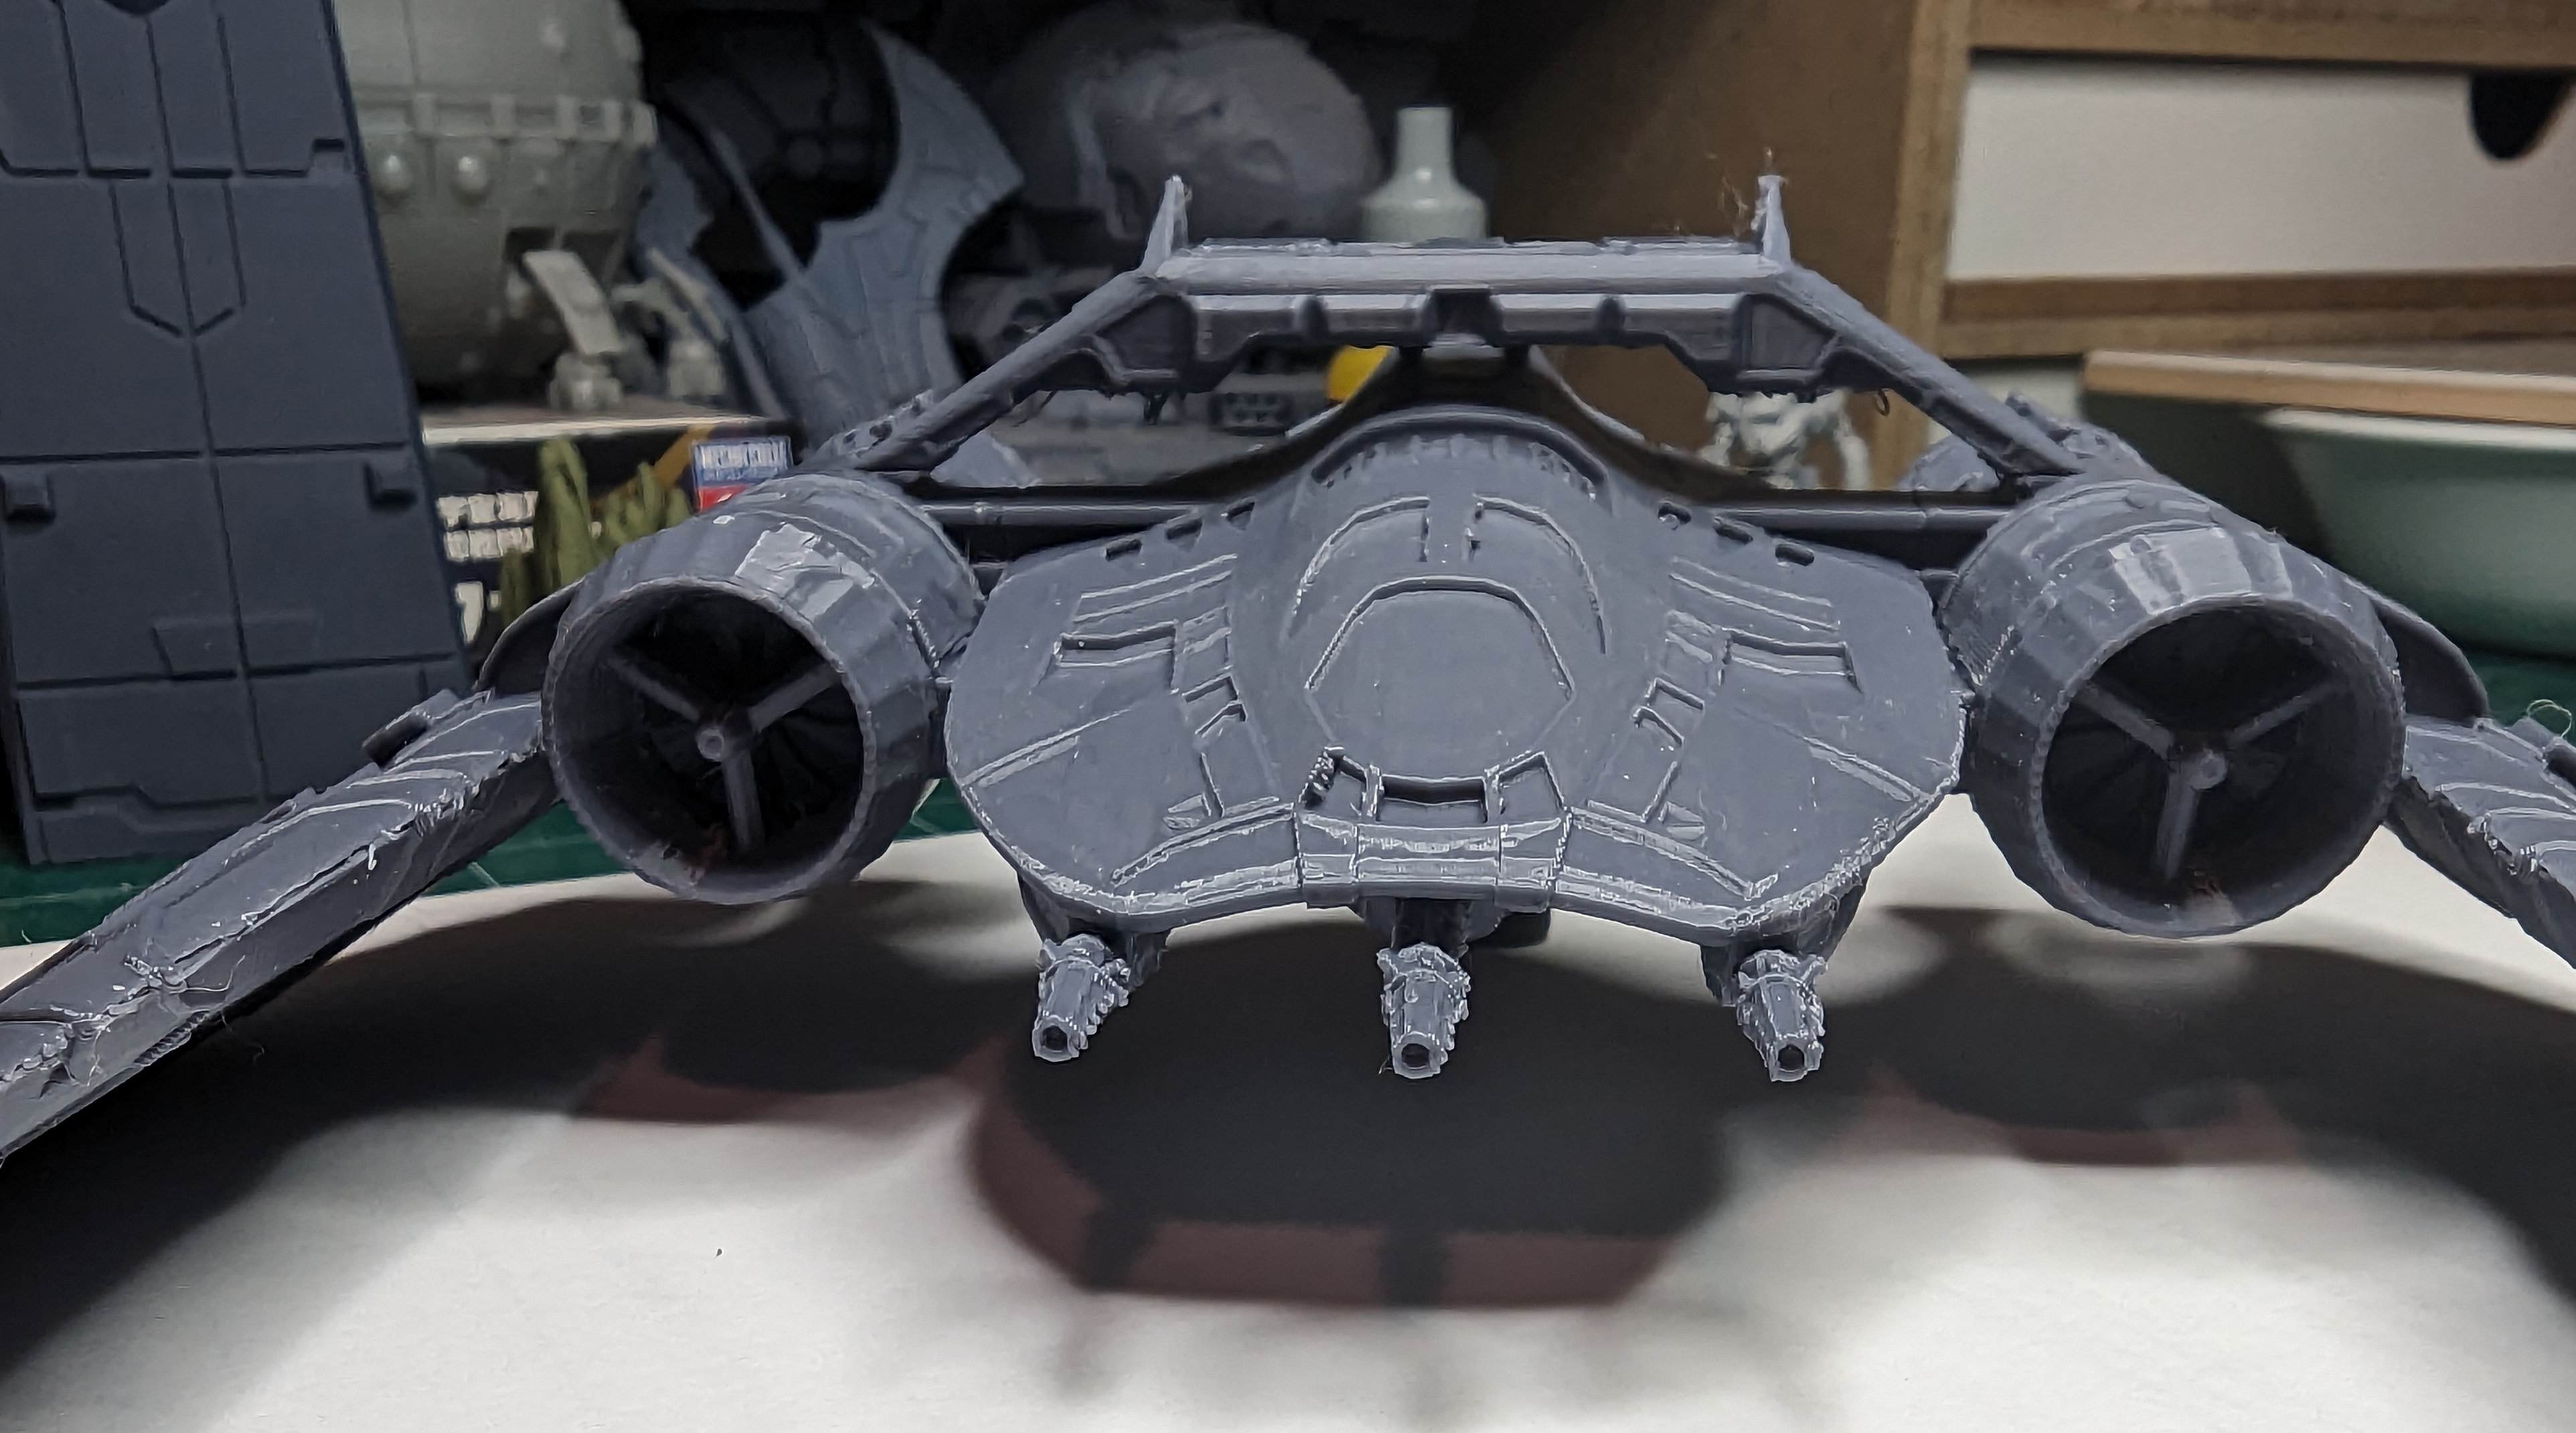
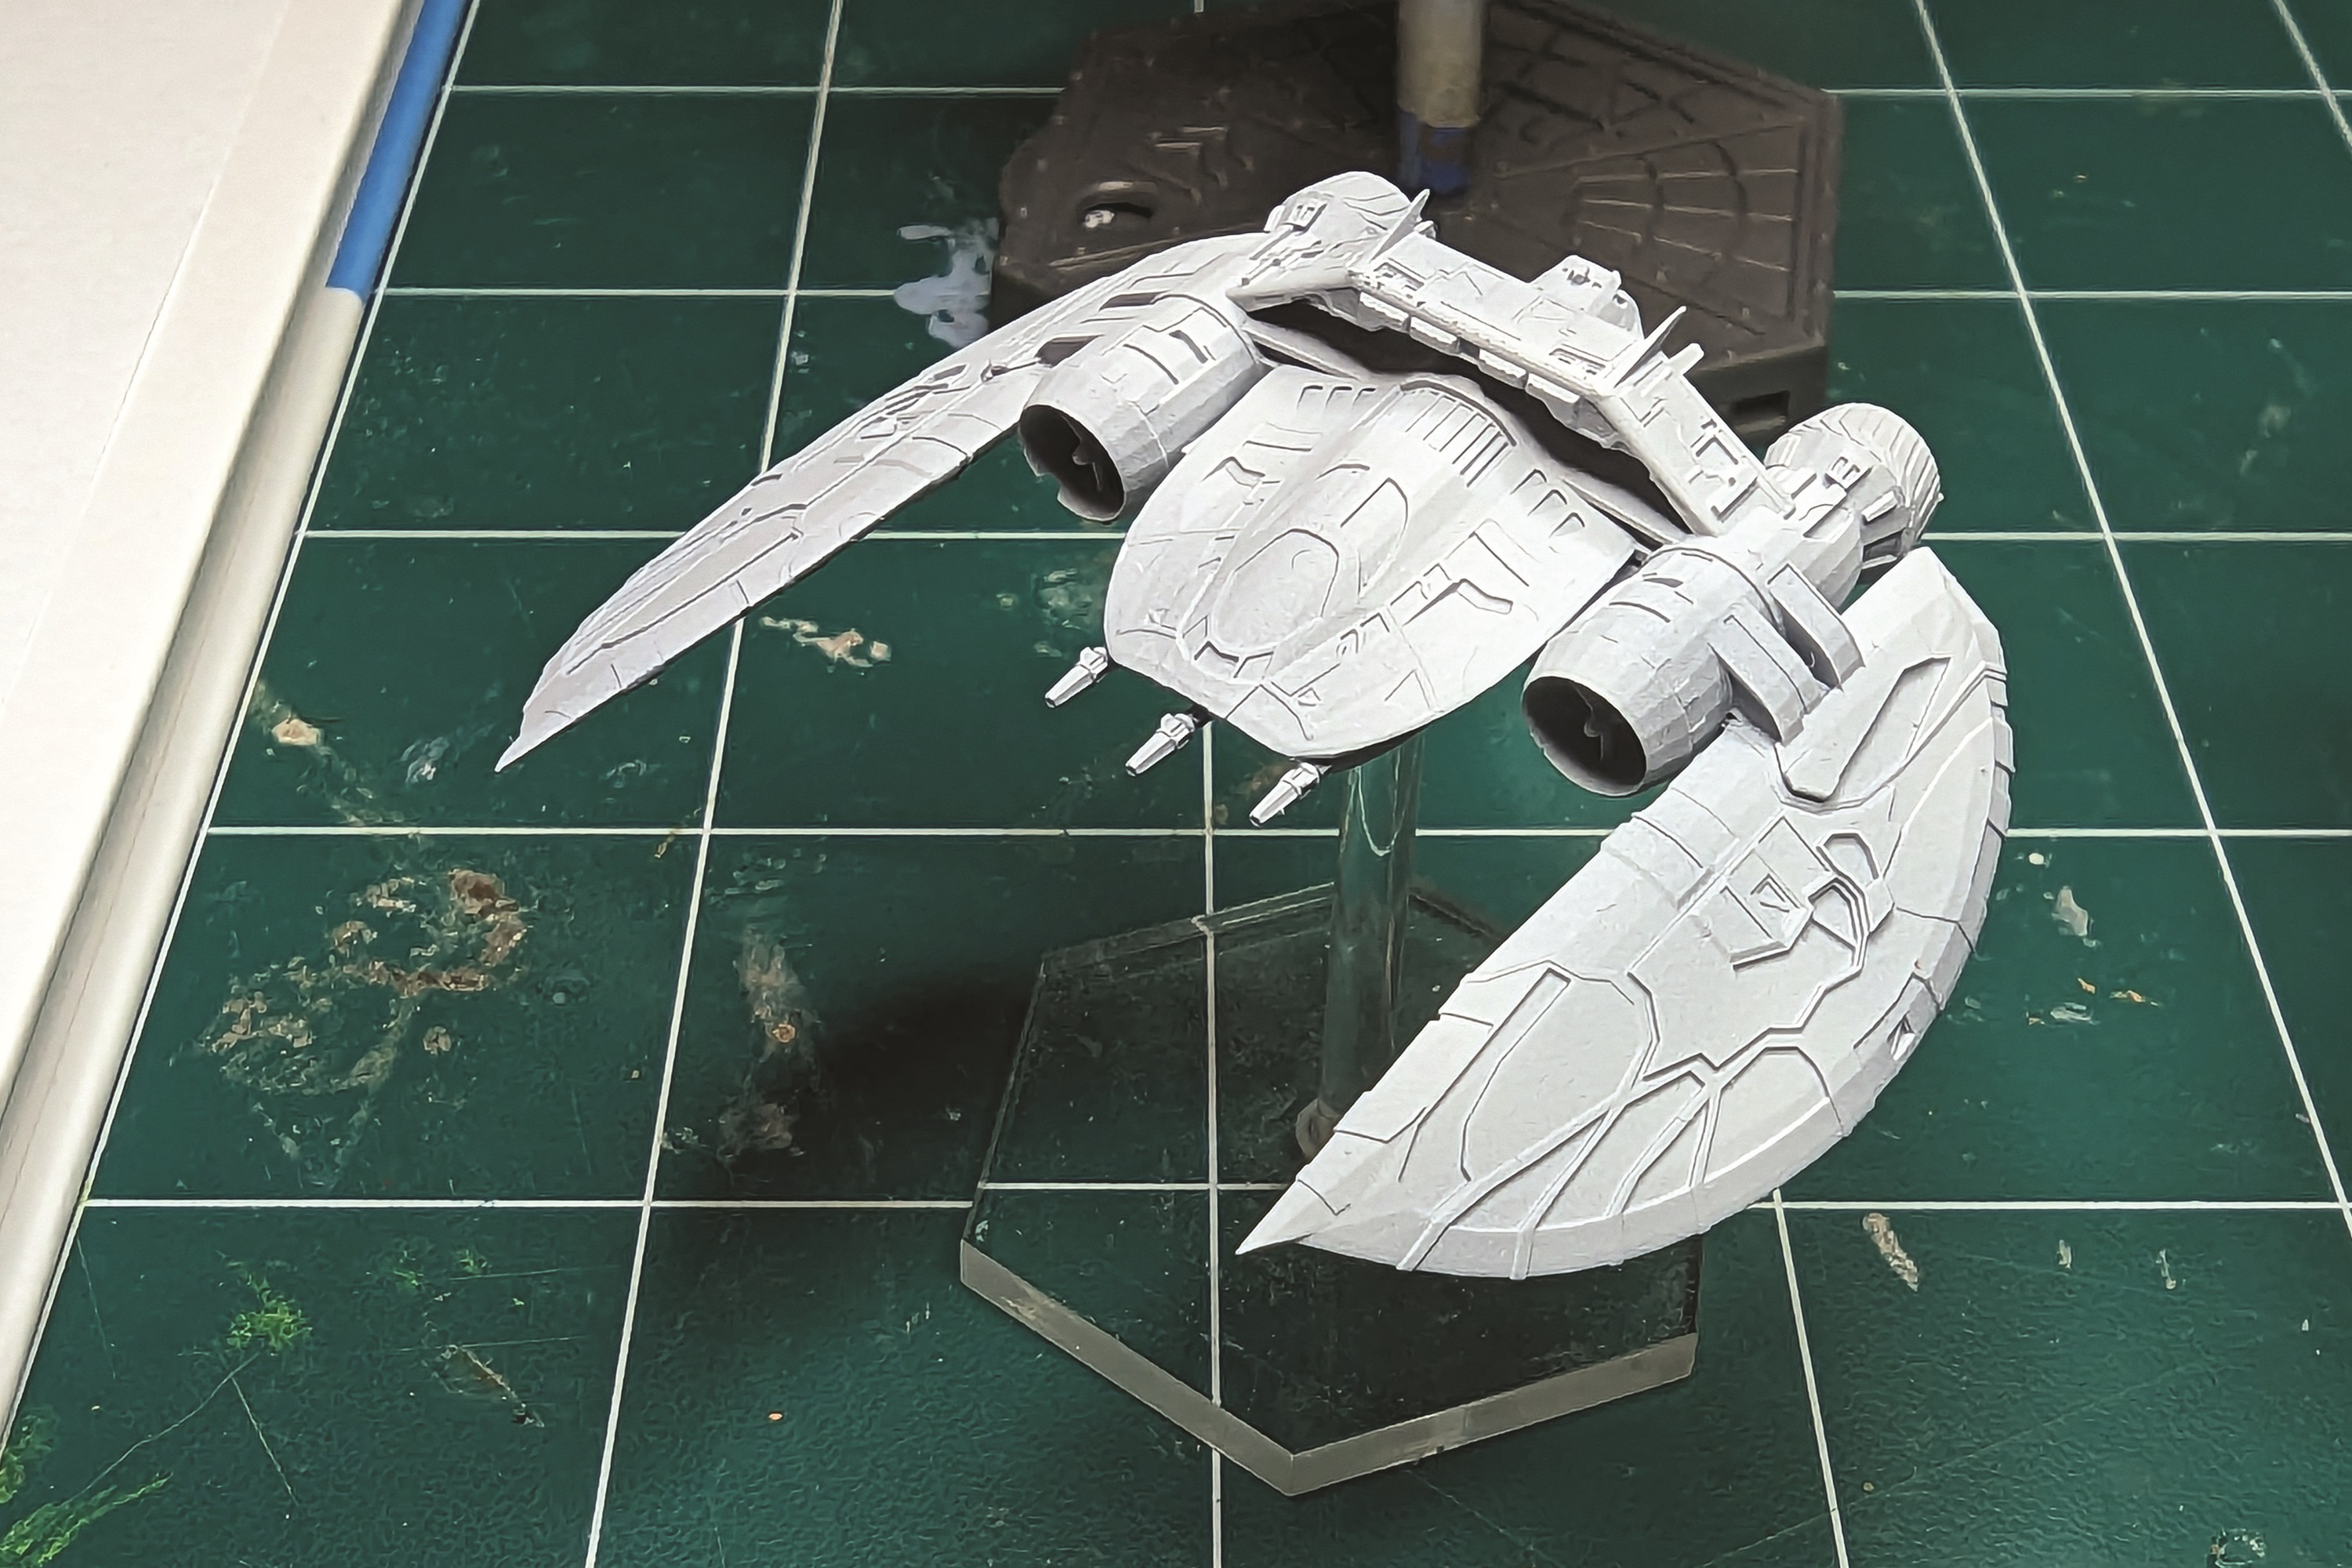
Though my intent is eventually to print a 1/72nd scale version from the parts illustrated above, I did do a quick FDM print as a proof of concept. This was mostly to confirm that my part divisions were clean and everything fits together as intented. I let Bambu Slicer do its thing using tree supports to minimize the contact points, and the result turned out better than expected. Though it was a %*#@! to remove the supports from the fuselage without snapping off the laser cannons. (I might see about trying to make those separately printable parts, or maybe as a gun cluster.) Unsurprisingly the underside of roll bar is very rough, but it was a quick test print where I did not attempt to manually add more supports there. This also is an earlier iteration where I have not made the engine exhausts separate from the wings yet.


Follow or Contact Us