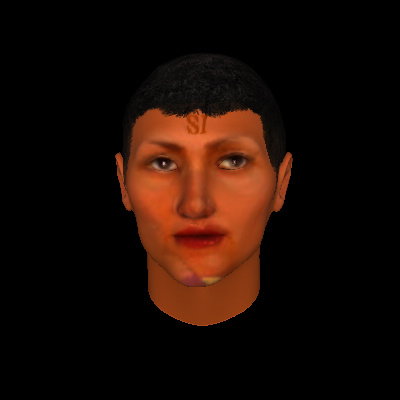
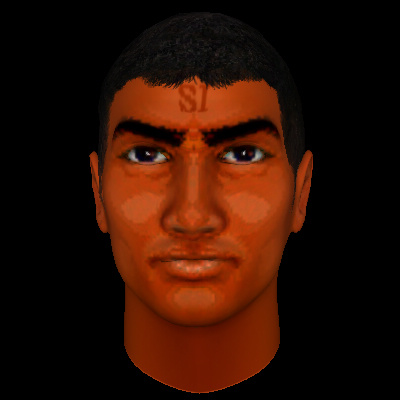
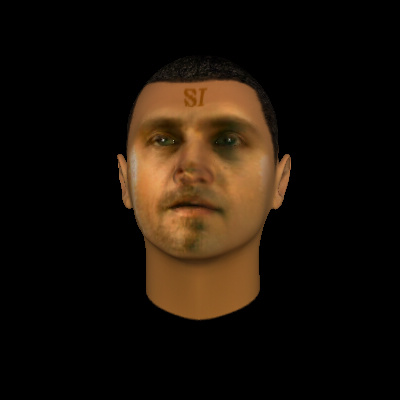
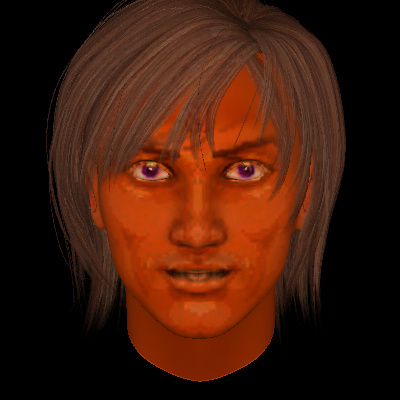
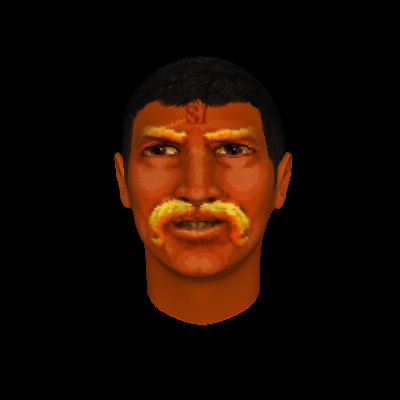
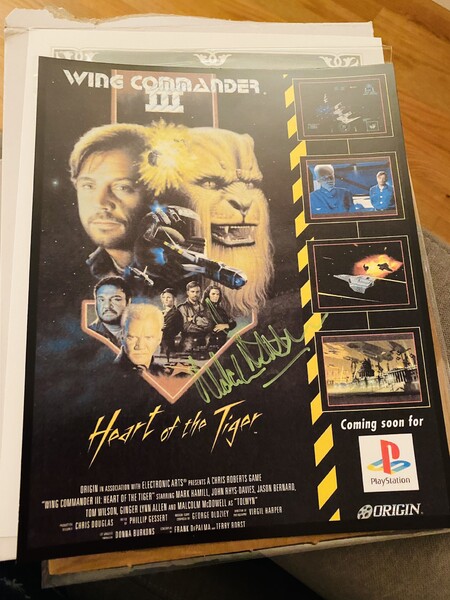
Today we have a contribution from Blitz. He ran mug shots from the first four Wing Commander games through a program called FaceGen to create 3D models of the characters' heads. The free version of the program includes only two kinds of hair, but some of these renders come pretty close to the real thing. You can grab the resulting 3D files here. Blitz also included a cool extra:
Here are a few faces, some of them are from the first game, some from the second, and some use the real actors from the WC3/4 and the movie. I've also included 2 "bonus" faces and I'll leave it up to you to figure out who they are.
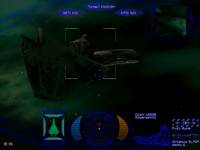
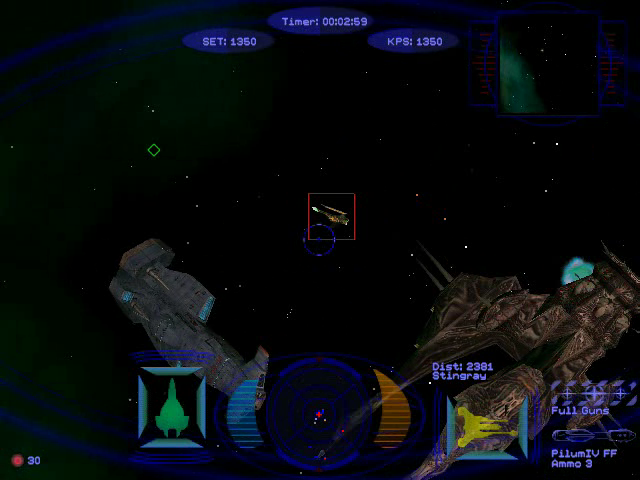
The Community Replay is about halfway through Secret Ops. This week, the pilots of the TCS Cerberus have to rescue a pair of luxury liners that have come under attack in the Cygnus System. DaveO has Photobucket and YouTube feeds with a host of screenshots and gameplay videos from all the games that have been covered so far. These are his notes from Cygnus:
 Cygnus 2
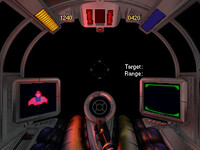
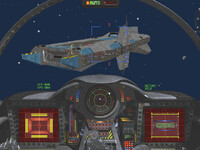
Zero is in an SAR shuttle for this mission, and believes we will find the source of the distress call. Due to our previous sweep, there is no resistance at the first nav point. When we reach the second, my targeting computer identifies the battered and drifting ship we see as the Anna Maria Albergetti. There are Stingrays and Morays here, so there is a chance for survivors from the initial attack on the ship. I take care of one Stingray along with two Morays, and make an assisted kill on another Stingray. Taking out the last Moray is simple with my fighter and another blasting it to bits. Zero warns us to stay clear of the Albergetti’s jump drive since a breach of its core would destroy the ship as well as any ships too close to its destructive blast wave. Zero tells us that he can detect two life signs on the Albergetti, and has located a point on the ship stable enough to allow a landing. The Cerberus gives us new navigation data for a continued patrol that will prevent any more aliens from returning to the Albergetti. Maestro stays behind with Zero to make sure any potential stragglers are stopped. The next nav point has only more of the Stingrays to deal with. I get three of the Stingrays with my guns, and use a missile to get rid of a fourth. A fifth one is fried by the guns of my fighter, and we continue onwards. We spot a few Mantas, and make an attack. I’m able to get all four of the Mantas, but my Panther has taken some core and serious afterburner damage. I let the repair system work a bit, and we move on to the next nav point. There are more Mantas and Morays here, and I handle one Manta without troubles. I’m then forced to drop several decoys to ditch a missile sent my way. I return the present of a missile to a Manta in front of me, and use my guns to finish it off. Two more of the Mantas are destroyed, and I take out two of the Morays. The final Moray pilot just sits there to let Stiletto easily shoot him down. We return to the remains of the Albergetti, and Zero tells us that a doctor and a young man have been rescued. They are under the effects of a skin-thinning agent, and need quick medical assistance if they are to survive.
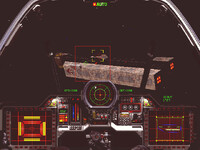
Cygnus 3
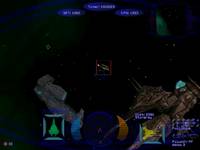 Our medical capabilities are not enough for the two survivors, so we’ll have to get them to a facility in the next twelve hours. Confed intelligence believes the alien activity is indicating a blockade of the Luyten and Krieger systems. We’ll use continued sweeps to pull the plug on the blockade. We launch in Panthers for this patrol, and the first nav point has light resistance from Morays and a Ray. I go after a Moray since the only threat from the Ray is its mines. Stiletto takes out the Ray while I’m pursuing a Moray. I easily handle the Moray, and then destroy two of those small Remoras released from the dead Ray. I take down another Moray, and one of our fighters eliminates a Remora that was attacking me from behind. I deal deadly damage to two more of the Morays, and we move on to the next nav point. Another of the civilian luxury liners is under attack from the aliens. A mix of Mantas and Stingrays will have to be handled. I take care of one Manta with my guns, and then use a missile and guns to make short work of a second Manta. I pound two more of the Mantas with my Panther, and there are only the Stingrays to deal with. I shatter two of the Stingrays, and the Captain of the Twilight Purchase thanks us for our assistance. At the next nav point, the bugs are bringing multiple bombers to bear. I break apart a Skate bomber cluster, and blast one of the smaller segments into shards. Stiletto punches out, and I see another of the Skate bomber clusters taken care of. I break apart another of the bomber clusters, and use a few Friend or Foe missiles to handle the segments. As I do the same shattering work on a third Skate bomber cluster, both Spyder and Maestro have to eject. I’m all alone against the remaining bugs, and look for the most dangerous threats. I spot a Manta and give it two missiles to trash it, and then use my guns to take out another Manta. There are only the Skate segments left, and one quickly falls to a frontal pass. I shoot down four of the Skate segments, and let a missile handle the fifth one. One Skate is shot down by my guns, and another feels the force of a missile. Another Skate is scuttled from a frontal pass, and I let my Panther pounce on the last two Skate segments with its guns. I return to the Cerberus with the Twilight Purchase, and the SAR shuttle is going to have extra work in recovering the three pilots who ejected. The Captain of the Cerberus says that the Twilight Purchase will take the two survivors from the Albergetti to a remote medical lab in this system.
- Community Replay - General Discussion
- WC1 Week 1 - Enyo, McAuliffe, Gimle, Gateway, Cheng-du
- WC1 Week 2 - Brimstone, Dakota, Kurasawa, Rostov, Port Hedland, Hubble's Star
- WC1 Week 3 - Venice, Hell's Kitchen, Alternate Paths
- Secret Missions Week 1 - Goddard, Border Zone, Midgard
- Secret Missions Week 2 - Jotunheim, Bifrost
- Secret Missions Week 3 - Valgard, Vigrid
- SM2: Crusade Week 1 - Firekka
- SM2: Crusade Week 2 - Corsair, Near Firekka
- SM2: Crusade Week 3 - Corsair, Charon
- WC2 Week 1 - Gwenydd, Niven
- WC2 Week 2 - Niven, Ghorah Khar
- WC2 Week 3 - Novaya Kiev, Heaven's Gate
- WC2 Week 4 - Heaven's Gate, Tesla
- WC2 Week 5 - Enigma
- WC2 Week 6 - K'tithrak Mang
- SO1 Week 1 - Pembroke
- SO1 Week 2 - Rigel
- SO1 Week 3 - Ghorah Khar 1
- SO1 Week 4 - Ghorah Khar 2
- SO2 Week 1 - Canewdon 1
- SO2 Week 2 - Canewdon 2
- SO2 Week 3 - Canewdon 3
- SO2 Week 4 - Ayer's Rock
- WC3 Week 1 - Orsini
- WC3 Week 2 - Tamayo, Locanda
- WC3 Week 3 - Blackmane, Ariel/Delius
|
- WC3 Week 4 - Caliban, Torgo
- WC3 Week 5 - Loki, Alcor
- WC3 Week 6 - Freya, Hyperion
- WC3 Week 7 - Kilrah
- WC4 Week 1 - Hellespont, Tyr, Masa
- WC4 Week 2 - Silenos, Orestes
- WC4 Week 3 - Pasqual, Peleus
- WC4 Week 4 - Circe, Speradon
- WC4 Week 5 - Telamon, Axius, Ella
- WC4 Week 6 - Talos, Sol
- WCP Week 1 - H'rekkah
- WCP Week 2 - G'wriss
- WCP Week 3 - H'hrass
- WCP Week 4 - T'lan Meth
- WCP Week 5 - T'lan Meth
- WCP Week 6 - G'mar, Hrissith
- WCP Week 7 - Hrissith, Kilrah
- WCP Week 8 - Kilrah
- WCSO Week 1 - Courage
- WCSO Week 2 - Ella
- WCSO Week 3 - Talos
- WCSO Week 4 - Cygnus
|


Follow or Contact Us