Adm_maverick
Rear Admiral
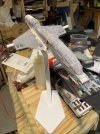
I decided to something crazy and I took the Vampire figure from Thingverse, and upscaled it to produce a roughly 14" long model. Now because of the size of my resin printer, I had to break the model down into segments.
But then I also took a step further and wanted to make the engines rotate. So those needed to be separate parts, and the wing pylons needed to be modified to allow the rotation.
But then I decided to make it even more involved and chose to install lights in the engines.
So crazy enough? Well here is a record of my progress:
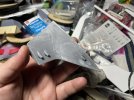
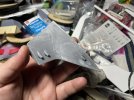
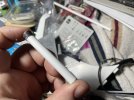
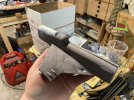
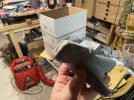
Here is the right wing pylon. It was the first part out of the printer. Clean up wasn't too bad.
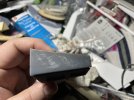
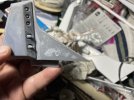
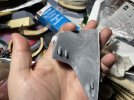
But there was some clean up needed. Resin printing is an annoying manufacturing process because it can be totally hit or miss with odd sections just being lost in the process. In this case I needed to fill some deformations and divots with modeling putty.
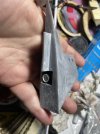
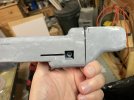
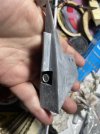
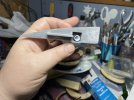
As I said, I wanted the engines to be able to rotate. In order to accommodate this desire, I redesigned the wing pylon to have a hollow section that I could then place a styrene tube into to serve as the rotation point.
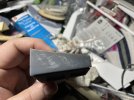
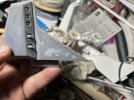
in order to accommodate the multi-part break down, I had to split the last third of the body into 2 parts. This put me in an odd spot. On the one hand, assembling 2 halve is pretty easy. But on the other hand just a straight split would split the inner details which would be hard to putty the divide.
So I removed the inner section and created an entirely new part:
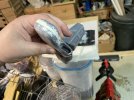
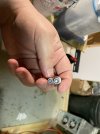
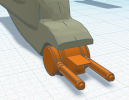
The nose cannons on the original model bugged me. It was just two little tubes. So I designed a new nose turret.
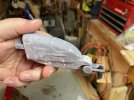
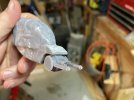
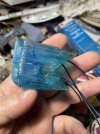
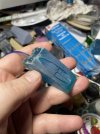
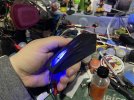
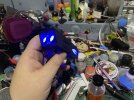
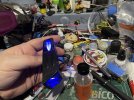
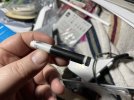
I printed the engine parts in blue resin to help facilitate the desired glow effect. I mounted 2 5mm LEDs behind the engine cones and 1 5mm LED in the forward section of the engine for the glowing part of the engine.
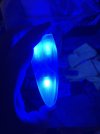
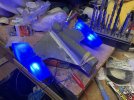
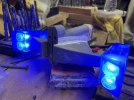
Tested the connections for the engines. Looks promising.
But then I also took a step further and wanted to make the engines rotate. So those needed to be separate parts, and the wing pylons needed to be modified to allow the rotation.
But then I decided to make it even more involved and chose to install lights in the engines.
So crazy enough? Well here is a record of my progress:

Here is the right wing pylon. It was the first part out of the printer. Clean up wasn't too bad.


But there was some clean up needed. Resin printing is an annoying manufacturing process because it can be totally hit or miss with odd sections just being lost in the process. In this case I needed to fill some deformations and divots with modeling putty.


As I said, I wanted the engines to be able to rotate. In order to accommodate this desire, I redesigned the wing pylon to have a hollow section that I could then place a styrene tube into to serve as the rotation point.
in order to accommodate the multi-part break down, I had to split the last third of the body into 2 parts. This put me in an odd spot. On the one hand, assembling 2 halve is pretty easy. But on the other hand just a straight split would split the inner details which would be hard to putty the divide.
So I removed the inner section and created an entirely new part:


The nose cannons on the original model bugged me. It was just two little tubes. So I designed a new nose turret.


I printed the engine parts in blue resin to help facilitate the desired glow effect. I mounted 2 5mm LEDs behind the engine cones and 1 5mm LED in the forward section of the engine for the glowing part of the engine.


Tested the connections for the engines. Looks promising.

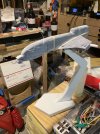
 - But it is big indeed ^^. How do you intend to color it? Via airbrush or how?